
How to extract the frames from a video using VLC
VLC has the ability to extract the frames from a video and will handle virtually anything you can throw at it. This tutorial will show you how.
See this tutorial if you are using an old version of VLC (pre-Rincewind).
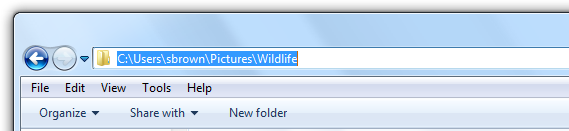
1. Create a folder to store your frames and copy the path to it. For Mac OSX/Linux users, this must be the full path (no ~).
2. Click Tools -> Preferences in VLC.
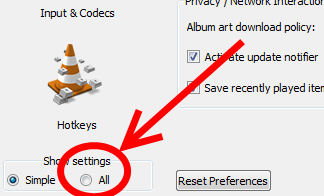
3. Under “show settings”, click “all”.
4. Under “Video”, select “Filters”. Tick “Scene video filter”.
5. Expand “Filters” and select “Scene filter”,
6. Paste the path from earlier into “directory path prefix”.

7. Decide what proportion of the frames you want to export. For example, if you want to export 1 in 12 frames, type “12” in the “recording ratio” box.
8. Click “save”.
9. Click Media -> Open Video and find your video. Patiently let the whole thing play.
10. Click Tools -> Preferences. Under “show settings”, click “all”. Under “video”, select “filters”. Uncheck “Scene video filter”. Click “save”. This is so that VLC won’t generate thumbnails the next time you play a video.
11. Open the folder you created earlier. The thumbnails should be there.